Recipes › Snacks
How To Make Crispy Ginger Chips
By Samira Kazan
updated December 10, 2025
If you love ginger as much as I do (a lot!), then these homemade naturally-sweetened crispy ginger chips are going to become your new obsession!

It is official, my obsession with ginger has reached whole new levels, and I absolutely love it. This post contains a cheeky recipe for delicious, crispy homemade dried ginger chips. Using either an oven or a food dehydrator, you can make crispy sweet ginger ‘chips’ – perfect for snacking or adding flavor and crunch to dishes.
Recently I made a fresh batch of Homemade Ground Ginger Powder using dehydrated ginger. When I pulled the crispy dried ginger chips from my dehydrator, though, I couldn’t help but think how much they reminded me of vegetable chips (crisps), and the cogs in my brain began turning. The result is these delicious ginger slices that are dried and naturally flavored with honey and cayenne (or your flavorings of choice).
Whether you want them for snacking, to decorate baked goods and other meals, or even crush up slightly for texture – this crispy ginger is fantastic to have in the kitchen. And if you’re looking for other ginger-heavy recipes/DIY’s, you might like these:
- Simple Ginger Lemonade
- Lemon & Ginger Tea
- How To Peel Ginger Easily
- Ginger Juice
- Ginger Shots
- How to Make Ginger Powder (Two Methods)
Want to save this recipe?
- How To Make The Ginger Chips
- Other Homemade Chips Recipes
- How to Make Ginger Chips Recipe
How To Make The Ginger Chips
What I love about this recipe is that you end up with deliciously crispy results but with no hot oil or high heat needed (no fried ginger here!). The sweet ginger chips are slowly dried out in low temperatures to maintain the nutritional benefits. Thus, they are a highly nutritious ginger snacks option.
Needed
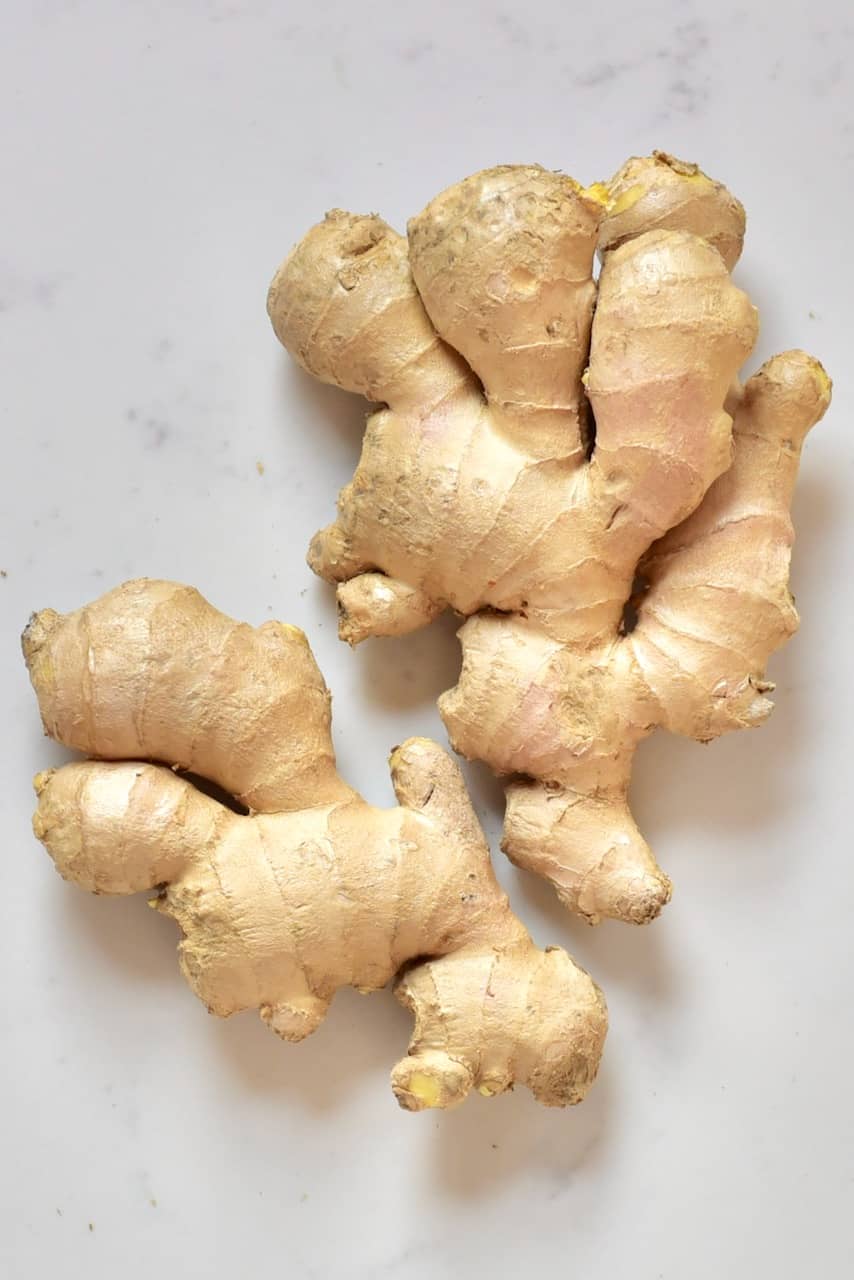
- Fresh Ginger – as much as you want.
- Either a mandolin, vegetable peeler, or handy knife skills
- Oven or dehydrator
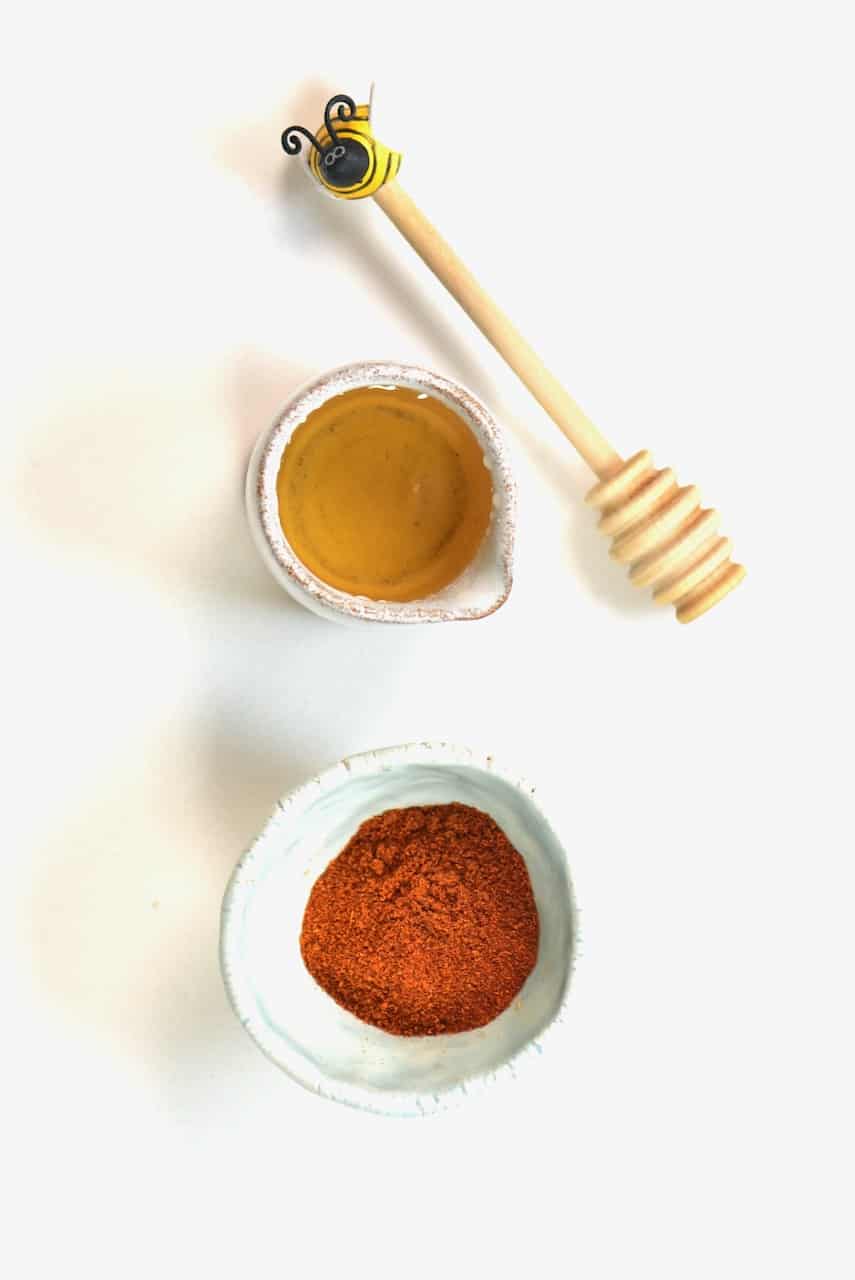
To flavor: honey and cayenne pepper (both are optional).
The Steps:
I’ve included two methods here. One for making plain ginger chips that you can season once dried and one for pre-seasoning with honey and cayenne (or cinnamon if you want a heat-free option) for a caramel flavor, once dried.
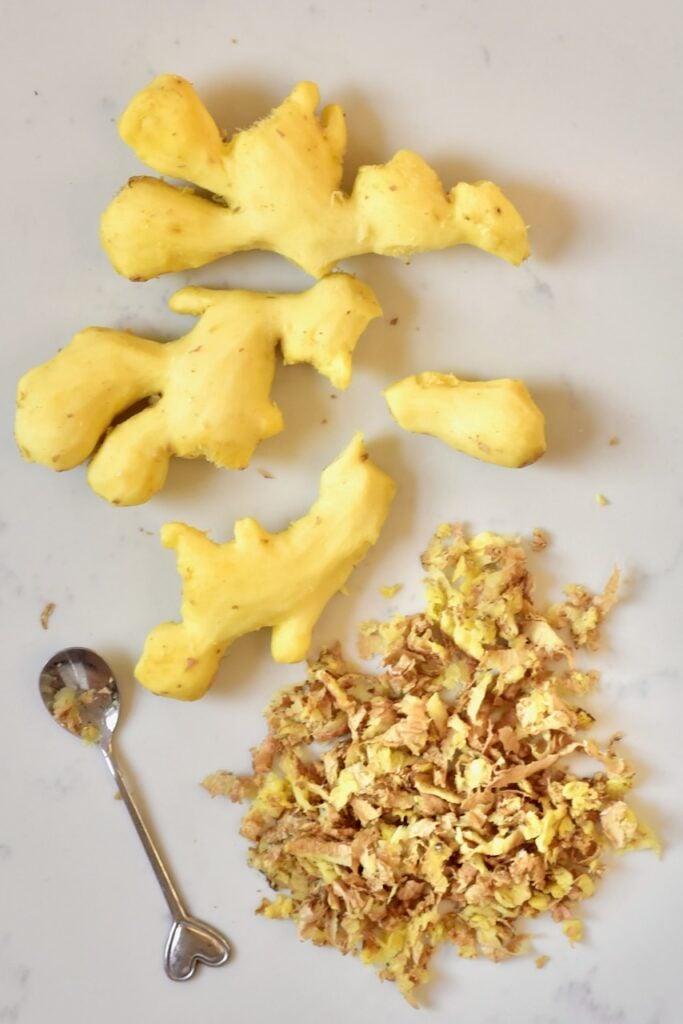
Begin by peeling the ginger root with this super simple method to peel ginge r , using a spoon.
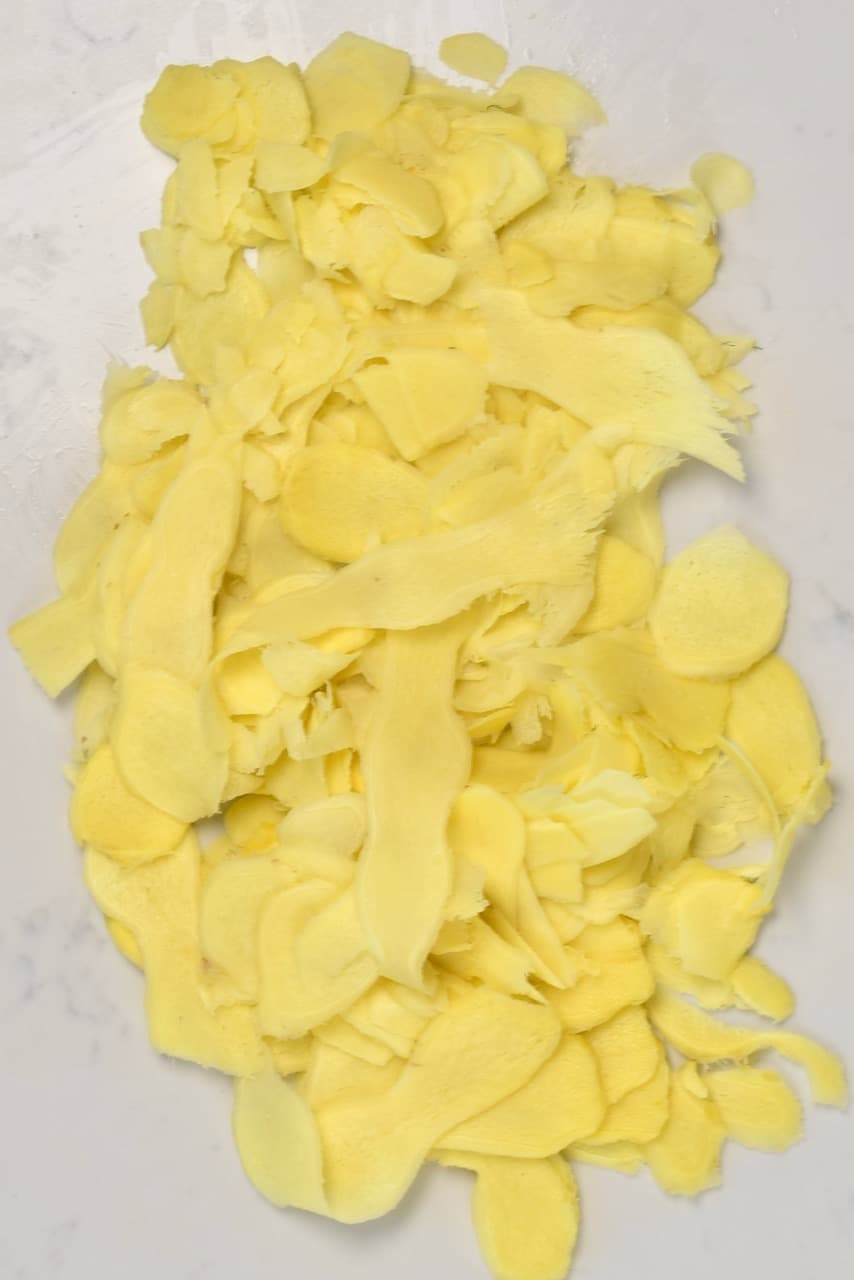
Next, thinly slice the peeled ginger using a mandoline, vegetable peeler, or, if you have nothing else available, then a knife.

I prefer to use the mandoline as it makes super-thin, even strips that will dry quicker and evenly.
This is especially the case if you’re drying them in the oven.
Method 1 – Plain Chips:
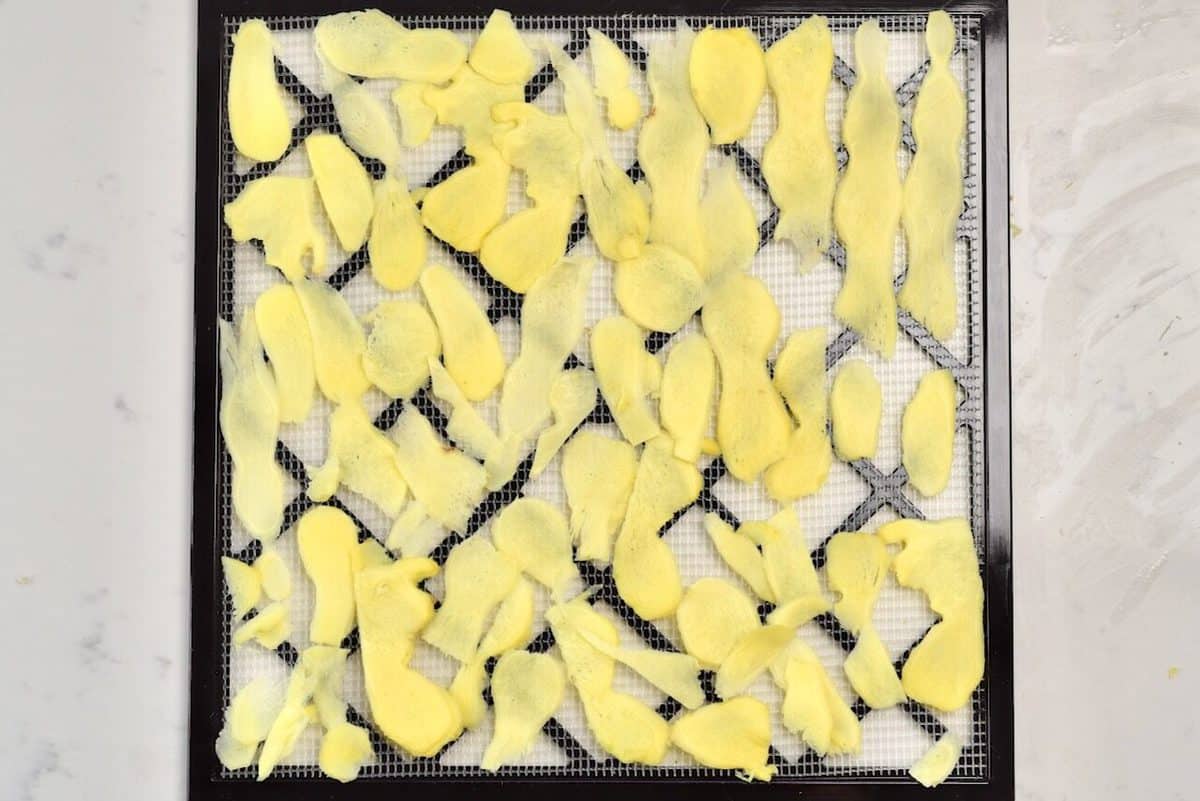
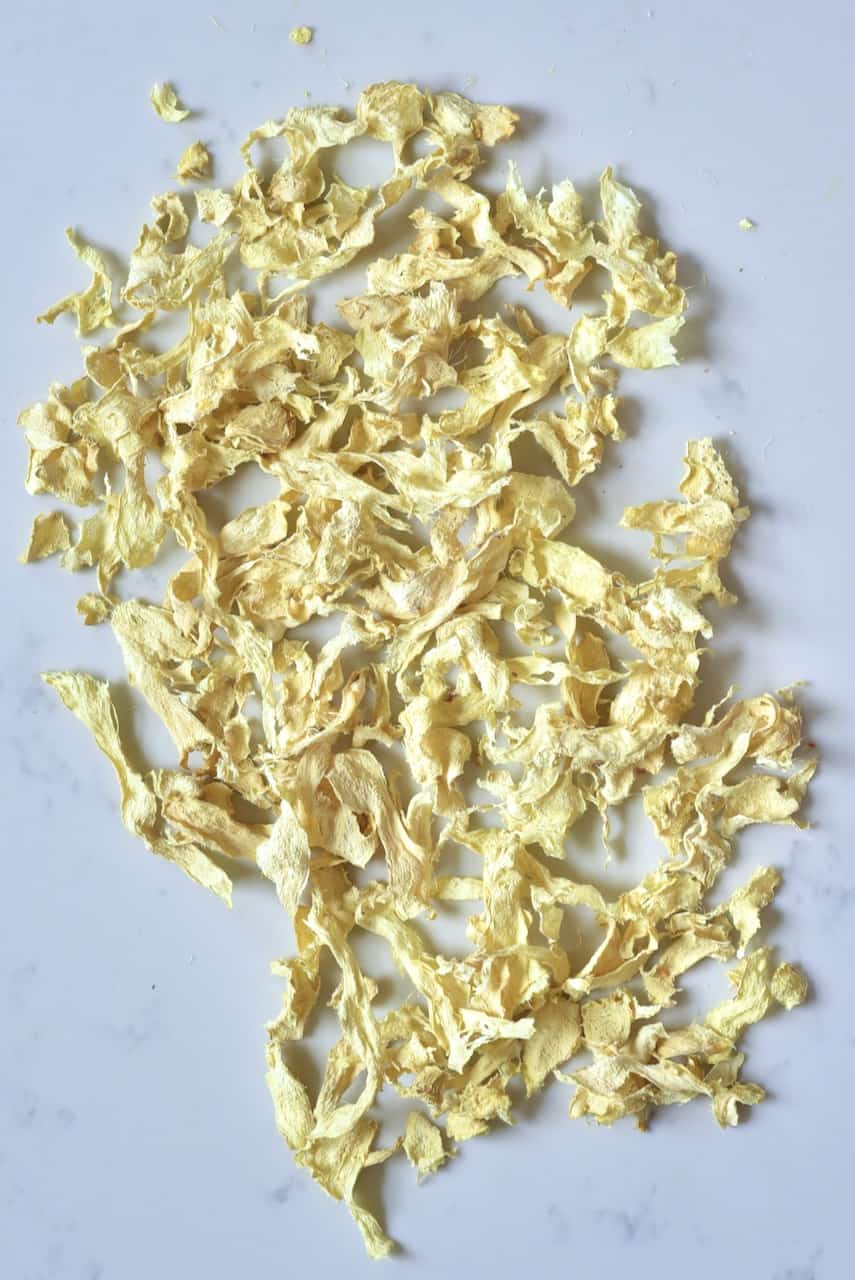
Place the slices on a lined baking tray or a dehydrator tray. Make sure they don’t overlap too much (or at all, if possible).
Bake in the oven at 80ºC/176ºF for about 2.5 hours. For best results, place the baking tray on the lowest rack, and if you notice them starting to brown, then crack the oven door open slightly.
Check on the dryness in about 1.5 hours – depending on the thickness and water content, as well as your oven; the ginger might need less or more time.
If using a dehydrator like me, dehydrate the ginger at 40ºC for about 4-5 hours.
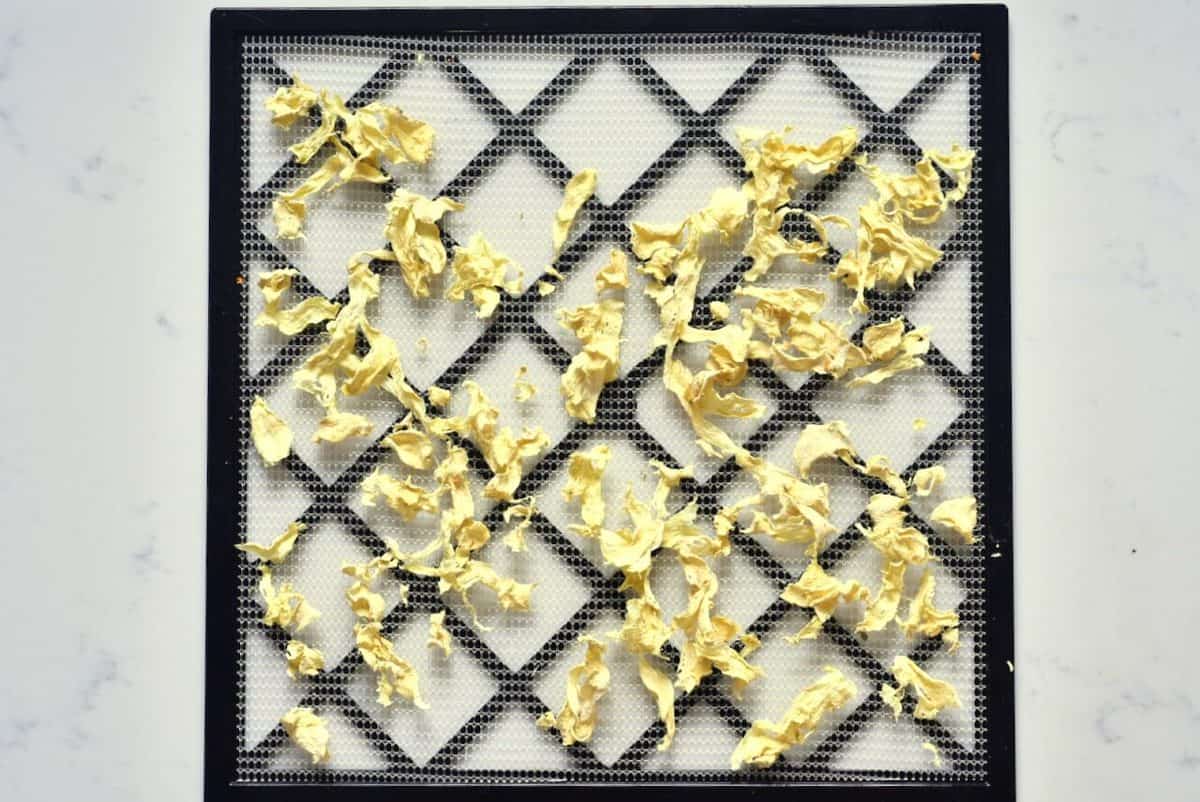
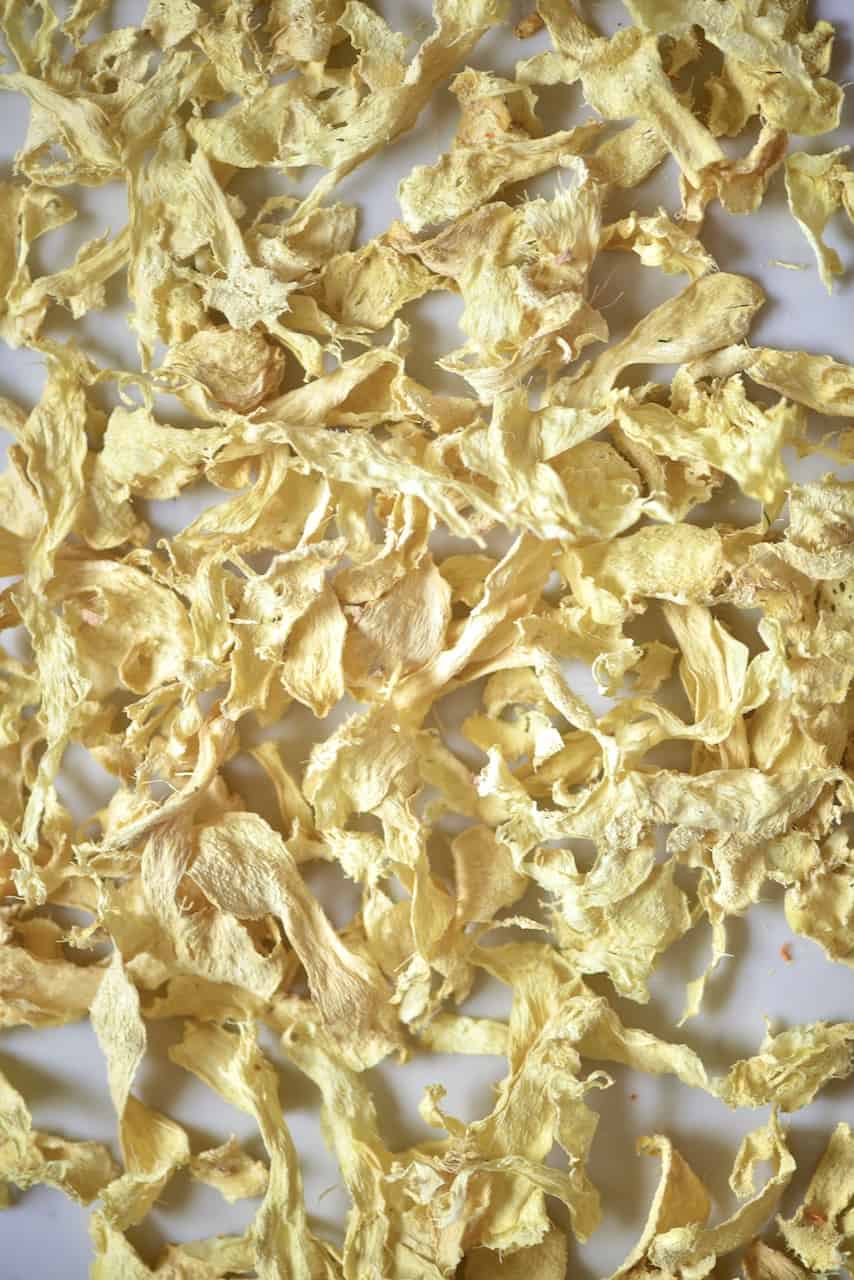
The ginger is ready when it’s crunchy dry, and you can easily snap a piece in two.
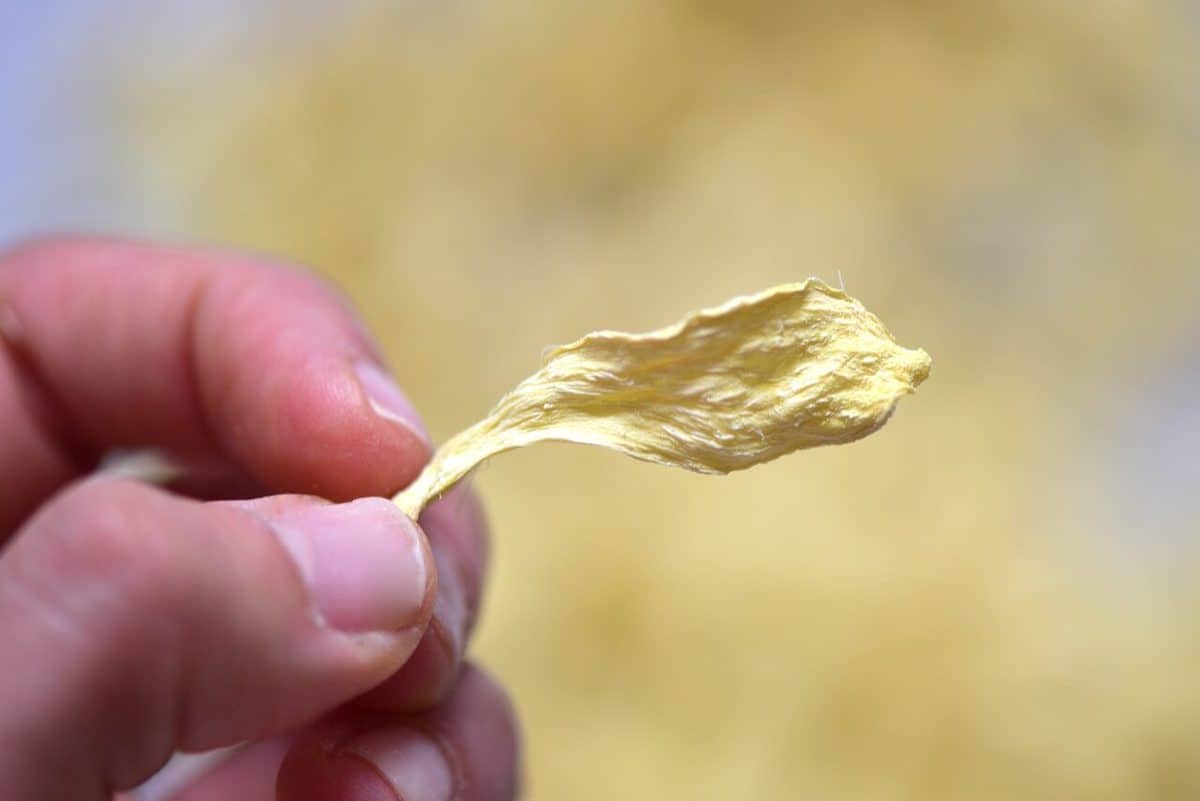
The ginger chips are now ready and can be seasoned with a variety of herbs and seasonings such as cinnamon or cayenne. Drizzle with honey right before eating.
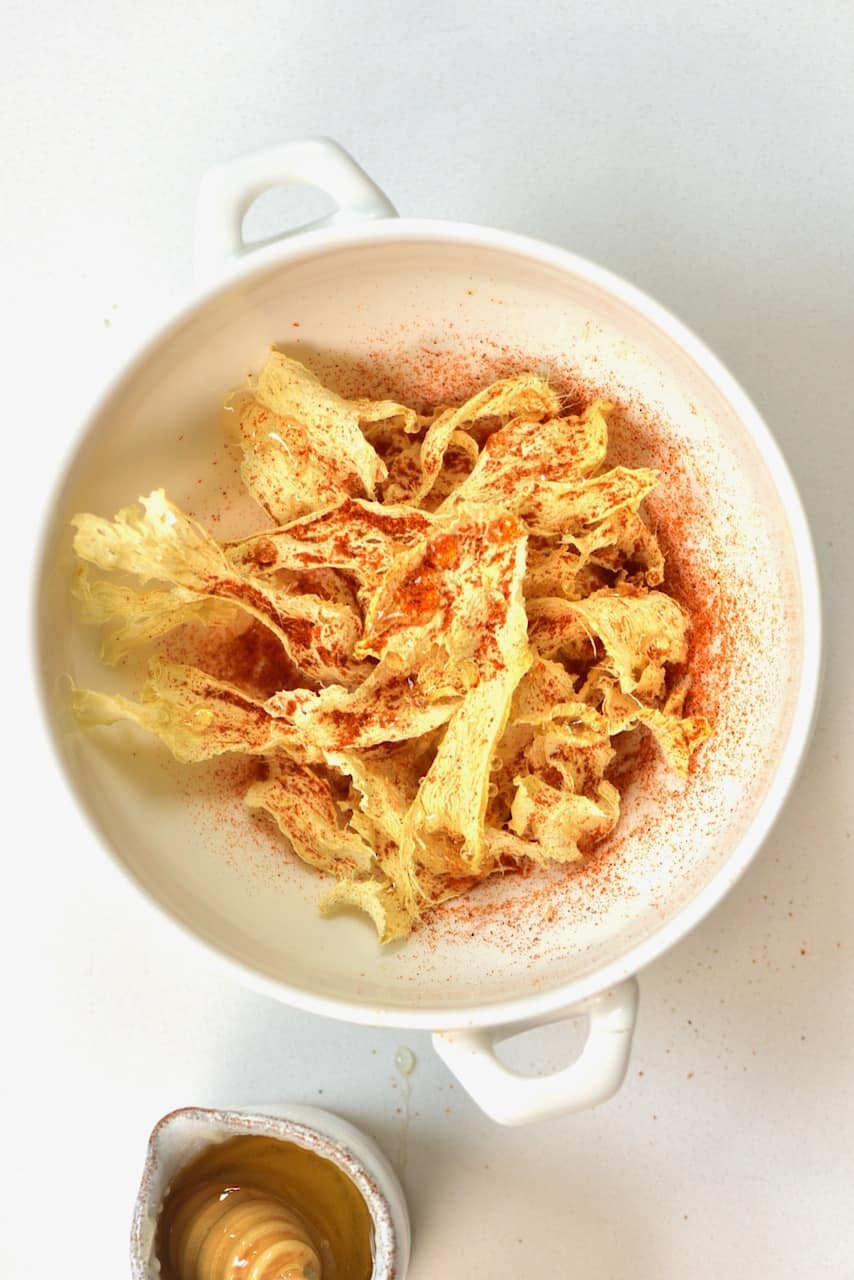
Method 2: Pre-flavoured ginger chips
If you want caramel-like honey-sweetened crispy ginger chips, then you can flavor them before placing them in the oven/dehydrator. Many people have told me that they hate to heat honey too much – so using the dehydrator may be your preferred method due to the very low temperatures.
You can also swap out the honey for another natural sweetener like maple o agave syrup.
Simply place some honey (and seasoning of choice) in a large bowl and dip the ginger slice into it. When removing the slices from the bowl, slide them up the side of the bowl, and this will help to remove the excess liquid.
In Dehydrator: Due to the additional liquid, these will take longer to dry. Depending on the weather and climate where you live, this can take between 12-18 hours on 55C/135F. Flip the trays around at the 6hr mark.
In Oven: Bake at 80ºC/176ºF for between 2-2.5 hours. Check after 1.5 hours.
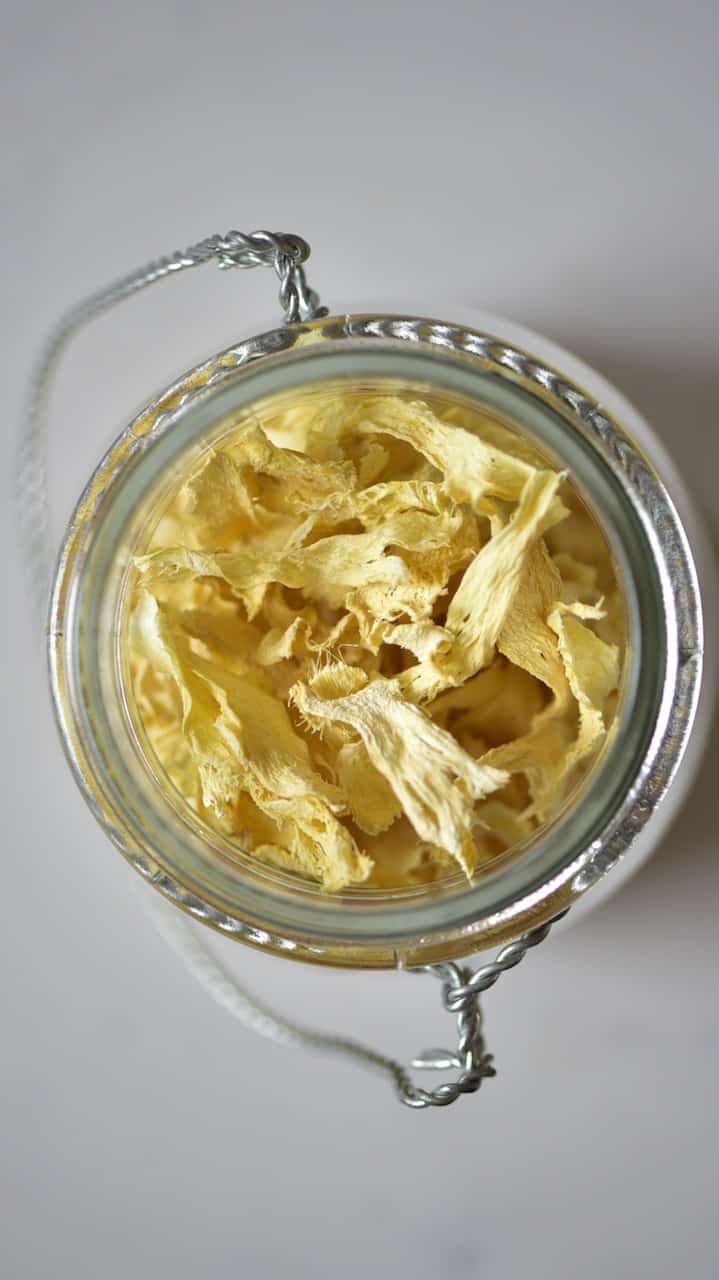
Store in an airtight container. Depending on if they are honey-sweetened or plain, the shelf life will differ. Plain ginger chips will last for six months at room temperature. The honey ginger will likely last less, at around 3-4 months. However, this isn’t something I have tested (yet) as they’re eaten too quickly!
Other Homemade Chips Recipes
- How to Dehydrate Apples (Dehydrator, Oven, and Air fryer Apple Chips)
- Homemade Pita Chips (Baked + Air Fryer)
- Gluten-Free Red Lentil Crackers (Lentil Chips)
- The Best Homemade Potato Chips
- Crispy Air Fryer Tortilla Chips (Plus Oven Method)
- Homemade Baked Potato Skin Chips
- How To Make Coconut Flakes (Coconut Chips)
- How to Make Beetroot Chips (Baked or Dehydrated)
- How to make Kale Chips In The Oven
Equipment
- Mandoline
- Dehydrator or oven
Ingredients
- ▢ Ginger
Instructions
- I’ve included two methods here. One for making plain ginger chips that you can season once dried and one for pre-seasoning with honey and cayenne (or cinnamon if you want a heat-free option) for a caramel flavor, once dried.
- Begin by peeling the ginger root with this super simple method, using a spoon.
- Next, thinly slice the peeled ginger using a mandoline, vegetable peeler or, if you have nothing else available, then a knife.
- I prefer to use the mandoline as it makes super-thin, even strips that will dry quicker and evenly.
- This is especially the case if you’re drying them in the oven.
Method 1- Plain Chips (seasoned once dry)
- Place the slices on a lined baking tray or a dehydrator tray. Make sure they don’t overlap too much ( or at all, if possible).
- Bake in the oven at 80ºC/176ºF for about 2 hours. For best results, place the baking tray on the lowest rack and if you notice them starting to brown then crack the oven door open slightly.
- Check on the dryness in about 1.5 hours – depending on the thickness and water content, as well as your oven, the ginger might need less or more time.
- If using a dehydrator like me, dehydrate the ginger at 40ºC for about 4-5 hours.
- The ginger is ready when it’s crunchy dry and you can easily snap a piece in two.
- The ginger chips are now ready and can be seasoned with a variety of herbs and seasonings such as cinnamon or cayenne. I like to drizzle mine with some honey and cayenne just before eating.
Method 2: Pre-flavoured ginger chips*
- Simply place some honey (and seasoning of choice) in a large bowl and dip the ginger slice into it. When removing the slices from the bowl, slide them up the side of the bowl and this will help to remove the excess liquid.
- In Dehydrator: Due to the additional liquid, these will take longer to dry. Depending on the weather and climate where you live this can take between 12-18 hours on 55C/135F. Flip the trays around at the 6hr mark. In Oven: Bake at 80ºC/176ºF for between 2-2.5 hours. Check after 1.5 hours
- Store in an airtight container. Depending on if they are honey sweetened or plain, the shelf life will differ. Plain ginger chips will last for 6 months at room temperature . the honey ginger will likely last less at around 3-4 months. However, this isn’t something I have tested ( yet) as they’re eaten too quickly!
Notes
How to Make Ginger Chips
Equipment
- Mandoline
- Dehydrator or oven
Ingredients
- Ginger
Instructions
- I’ve included two methods here. One for making plain ginger chips that you can season once dried and one for pre-seasoning with honey and cayenne (or cinnamon if you want a heat-free option) for a caramel flavor, once dried.
- Begin by peeling the ginger root with this super simple method, using a spoon.
- Next, thinly slice the peeled ginger using a mandoline, vegetable peeler or, if you have nothing else available, then a knife.
- I prefer to use the mandoline as it makes super-thin, even strips that will dry quicker and evenly.
- This is especially the case if you’re drying them in the oven.
Method 1- Plain Chips (seasoned once dry)
- Place the slices on a lined baking tray or a dehydrator tray. Make sure they don’t overlap too much ( or at all, if possible).
- Bake in the oven at 80ºC/176ºF for about 2 hours. For best results, place the baking tray on the lowest rack and if you notice them starting to brown then crack the oven door open slightly.
- Check on the dryness in about 1.5 hours – depending on the thickness and water content, as well as your oven, the ginger might need less or more time.
- If using a dehydrator like me, dehydrate the ginger at 40ºC for about 4-5 hours.
- The ginger is ready when it’s crunchy dry and you can easily snap a piece in two.
- The ginger chips are now ready and can be seasoned with a variety of herbs and seasonings such as cinnamon or cayenne. I like to drizzle mine with some honey and cayenne just before eating.
Method 2: Pre-flavoured ginger chips*
- Simply place some honey (and seasoning of choice) in a large bowl and dip the ginger slice into it. When removing the slices from the bowl, slide them up the side of the bowl and this will help to remove the excess liquid.
- In Dehydrator: Due to the additional liquid, these will take longer to dry. Depending on the weather and climate where you live this can take between 12-18 hours on 55C/135F. Flip the trays around at the 6hr mark. In Oven: Bake at 80ºC/176ºF for between 2-2.5 hours. Check after 1.5 hours
- Store in an airtight container. Depending on if they are honey sweetened or plain, the shelf life will differ. Plain ginger chips will last for 6 months at room temperature . the honey ginger will likely last less at around 3-4 months. However, this isn’t something I have tested ( yet) as they’re eaten too quickly!
Notes
Recipe on Alphafoodie: https://www.alphafoodie.com/how-to-make-crispy-ginger-chips/
